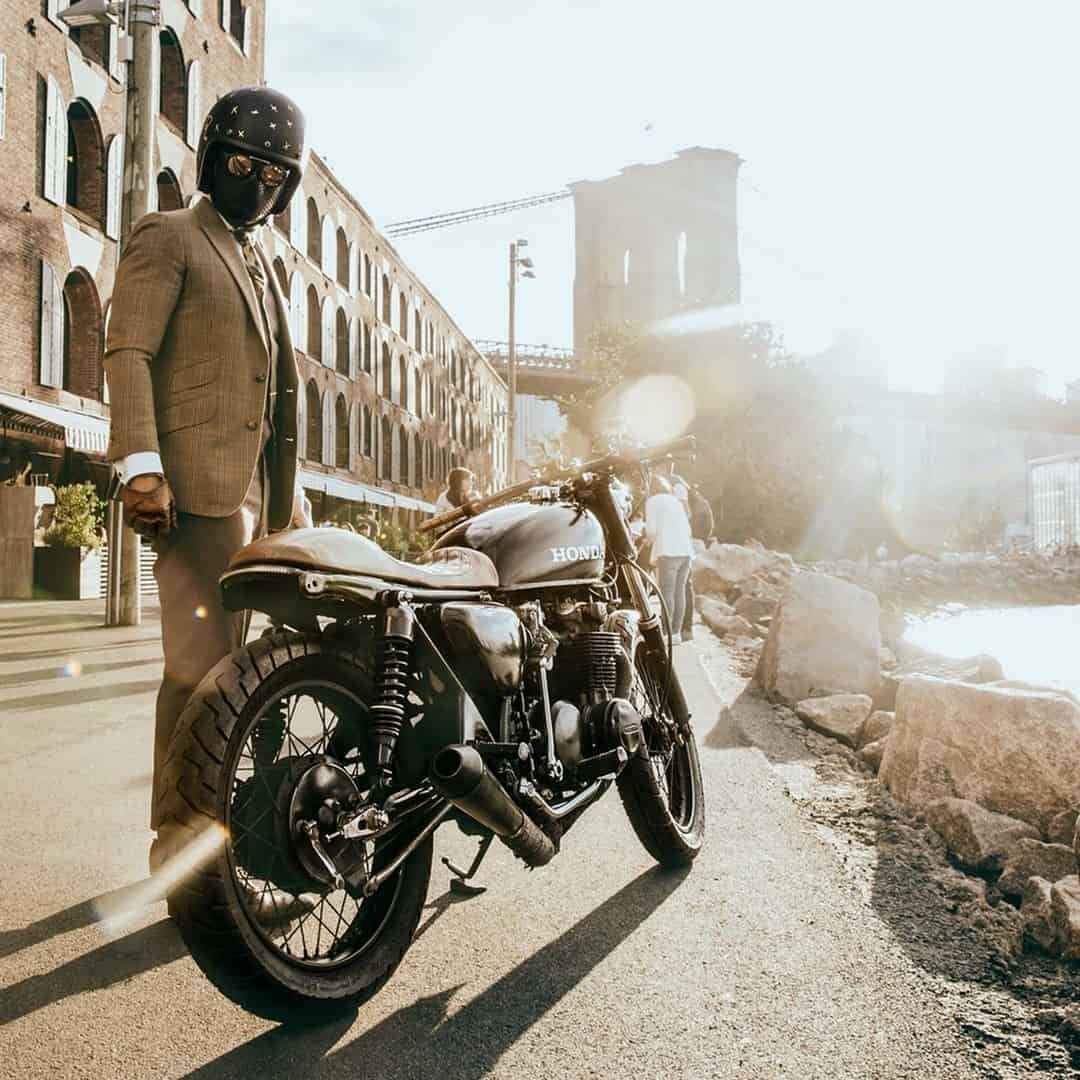
You might have an old bike, but it doesn’t match what other people are riding, and you are afraid of what they will say. The answer would be to buy an old standard motorcycle and make it look as classic as possible. You can clean it up and repaint it among other things.
Overview
In this guide, we will discuss exactly what you need to do to get an old motorcycle to fit in with the rest of the vintage and classic motorcycles. Now you may be wondering why we would want to do that…
As any motorcyclist, I like to participate in events, especially events that offer me to step out of the boundaries of what I like to do. And in this case, it would be to become a gentleman and ride something different for a good cause.
We will discuss the following:
- Finding an old motorcycle
- Designing the new look
- Cleaning the bike
- Replacement parts
How hard can it be to become a gentleman? Well, you just need to dress really nice, say words like splendid, indeed and pardon, pause a bit before taking a sip of your whiskey and fill your lungs with some Cubin Tabacco through a tiny wooden hammer.
If you can do that, you might not be a complete gentleman, but some might mistake you for one if they are very far away. Other than that, you need a niche-specific motorcycle, and that is what I will teach you in this guide.
Finding an old motorcycle
You need to remember that there are a few categories of motorcycles that will be allowed to participate. These are café racers, classics, modern classics, choppers, brat style, bobber, scooter, tracker, scrambler and sidecars.
Now before you go buying any old motorcycle, you need to consider a few things. These might seem like little things, but they could make a huge difference to your budget.
Depending on the category you want to enter, you need to look at things like the speedometer, exhaust, wheels, fuel tank, seat and headlights.
These are things that could cost you a lot of money, and you want to find an old bike that already has all or most of these things the way you want it.
Make sure that the engine is working or is repairable, also check for cracks in the engine block as this is a common thing that happens on old bikes.
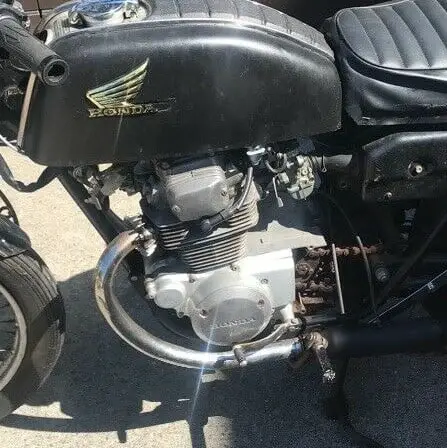
To give you an example of what you could go for; I’ve looked at some motorcycles on eBay and found this 1975 Honda CB200T that matches the profile.
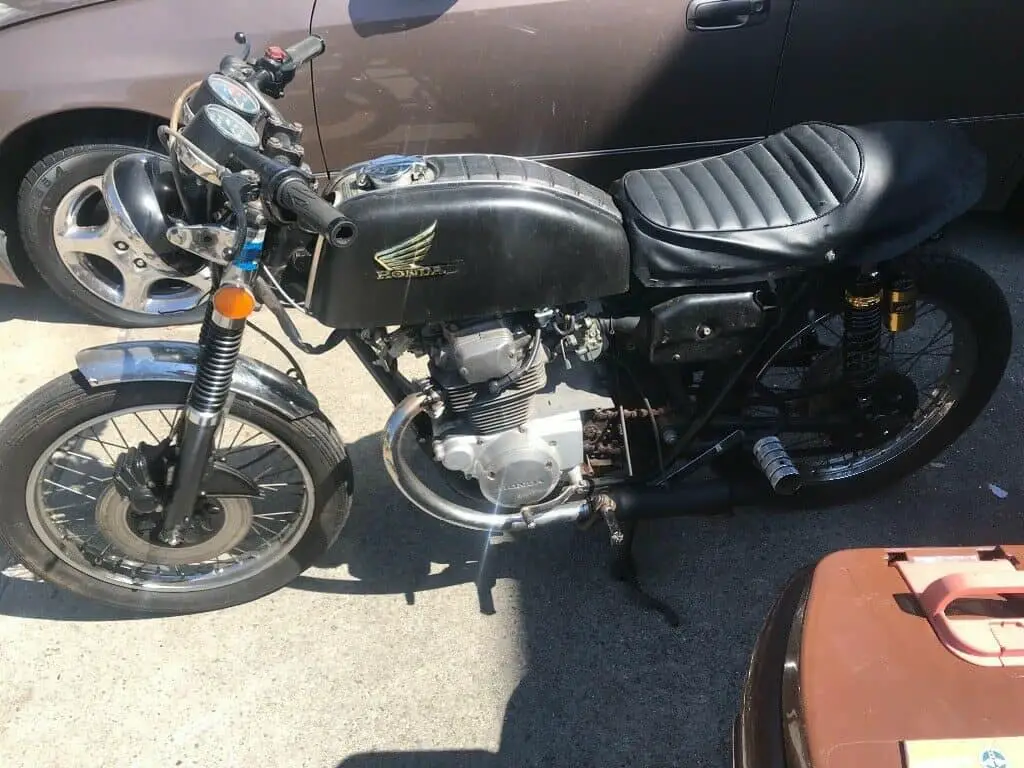
This motorcycle has spoked wheels, original exhaust (not shown in photo), original headlight, retro-seat and retro-looking fuel tank with its cap. The speedometer is the only thing I would completely replace as it is still too modern-looking.
The colour of the bike is not essential as we will have to give it a new look to fit in with the niche that we are going for. Things like the decals on the side of the tank are great as we can put them back after the paintwork is complete.
You will also notice the rear suspension is very newish looking and I will come to that later when we blend it in with the overall look and feel of the bike.
This bike was advertised for $700, and even though we don’t have to spend a fortune on it, I would still try to negotiate for under $500. You might relate to my feelings about spending money for an event that is held only once a year.
So this is the general idea of looking for a decent used motorcycle that would be easy and cheap to fix up.
Designing the new look
When fixing up a motorcycle, it is good to have a picture in mind of what you want to do. Putting it on paper has always made me expect more than what end result would be, and I generally just keep the picture in my mind.
But as I always try to give my readers an idea of what’s going through my head, I’ll explain every detail of what I would do to make this project turn out the way I want it.
For this project, I wouldn’t chop the bike as I would have to change the way the rear suspension works. I also think that the seat has an excellent retro style to it.
Choosing the colours
This is the first and most important thing we need to decide on as it will either make it or break it. We want to go for a very old type of styling when we choose the colours.
Fuel tank
As the tank already has a rubber or leather centre padding on it, we won’t be looking into two-tone colours on the fuel tank itself. But I want to do something with the engine to make it not look too dull.
The following colours considered for the tank:
- Antarctic Blue Pearl – PGCB595-BCCKIT
- Matador Red Pearl – PGC536-BCCKIT
- Galactic Green Metallic – MGCG337-BCCKIT
- Root Beer Pearl – PGCB407-BCCKIT

I chose the Galactic Green Metallic as the main colour for the fuel tank.
Frame
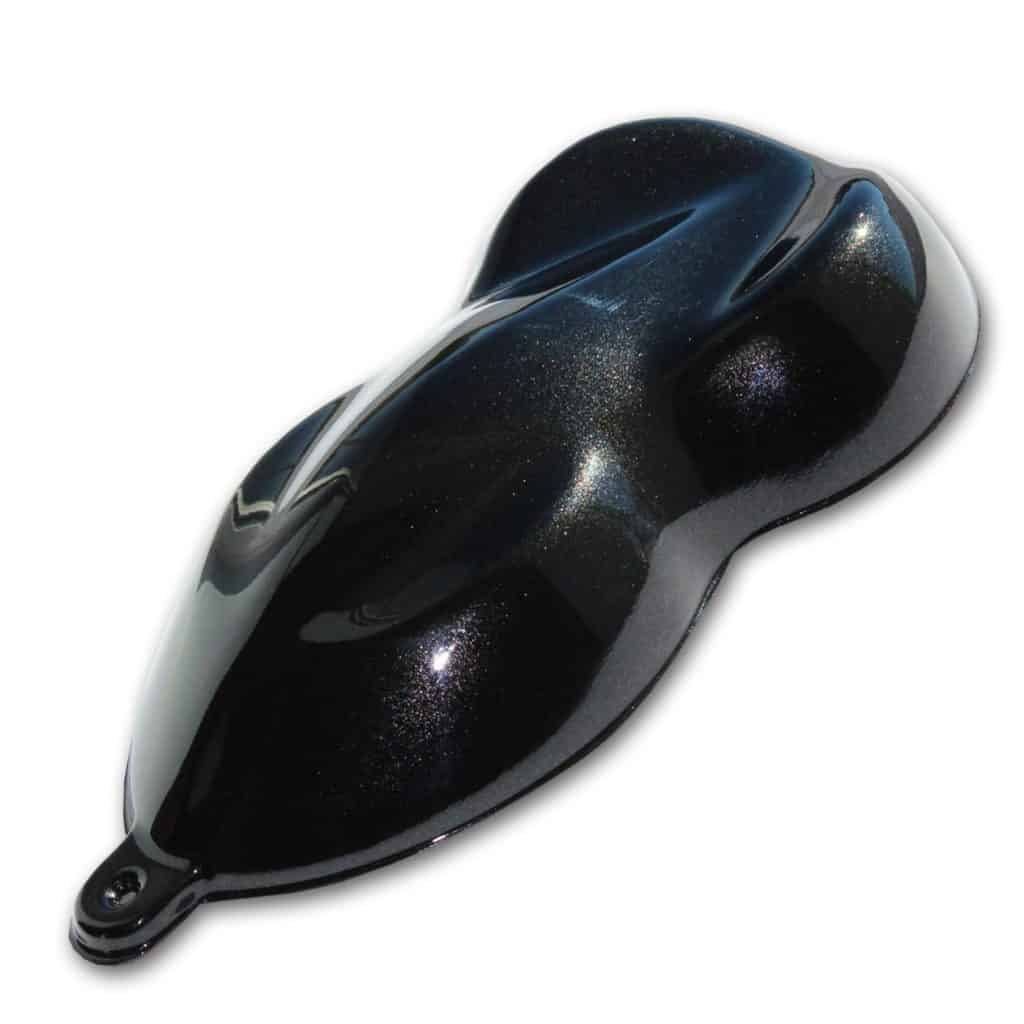
The frame still seems to be in good condition, but I would still paint it over with Black Sparkle Metallic – MGCB254-BCCKIT.
The reason for the black frame is so that it brings more attention to the engine of the motorcycle.
And because I can’t see what state the mounting points are on the frame, I would budget for the paintwork anyway.
Engine
This is not something I would usually do, but for this project, I think it would look perfect if the top part of the engine were a gold/copper colour that matches the rear suspension.
This would specifically be the fins on the air-cooled cylinder block; still leaving the engine case and cylinder head its original colour. I would also replace all the Torx and Allen screws with the same gold/copper coloured screws.
Seat
Although the seat has the right shape and style to it, it is not in good condition. I would have it refurbished with dark brown synthetic leather and ask for some small pieces that they cut out for use later on for other areas on the bike.

Cleaning the bike
Before we start any paintwork, we need to clean up. We begin by removing the engine and all other components and one by one clean every single thing.
I like to use an engine cleaner to remove dirt and grease on the wheels, frame and basically all over the bike. After most of the dirt and grease is off, I use a regular toothbrush and engine cleaner to remove anything else I can find on the bike.
The chain I’ll replace with a new gold-coloured chain as the chain on this bike has been too neglected and isn’t worth using again. I always use a cloth and engine cleaner to clean my chains and then use Castrol’s chain wax as I find it to be the best product for its purpose.
The exhaust is a fun piece to do as you can easily see in the results how much time you put into cleaning and polishing it. I like to use Starbright chrome & stainless polish for a job like this.
For the plastic piece on the tank, I would use Mothers Back-to-Black Trim & Plastic Restorer to get the colour back to what it once was.
Replacement parts
As said before you end up saving a lot of money if you buy the right bike and don’t replace a whole bunch of parts. For this project, we only have seven things to replace:
- Speedometer
- Chain
- Seat cover
- Gold-coloured machine fasteners
- Rear lights
- Indicators
- Mirrors
Speedometer
For this bike, I have chosen a cheap speedometer that is has a round retro-shape, and it is also in chrome instead of black.

Chain
The chain replacement is just the standard 102 link, 520 chain. Keeping it clean and waxed is essential because you don’t want it looking the way it did.
Seat cover
I wouldn’t do the seat myself, but you could find a used replacement seat that is in good condition. Ultimately, I would omit some other expenses to get the seat done by a professional or buy a new one online.
Gold-coloured machine fasteners
I would replace all the fasteners with gold-coloured stainless steel fasteners just because it’s so cheap and it would make that new rear-suspension kit and the painted fins on the cylinder block work together to give a nice finished look.
Rear lights
There is no need to go expensive on this; square and round taillights have been around for many years, and you can get them relatively cheap.
Indicators
If you feel you don’t need them, and your country’s road regulations allow it; why have them? You can have the full experience of the early years of motorcycling using hand signals.
Mirrors
Round bar-end mirrors. I don’t typically like bar-end mirrors, but on this bike, it would look good.

Conclusion
You can certainly build your own custom motorcycle for an event like the Distinguished Gentleman’s Ride and have it fit in with the others.
There are a few categories of motorcycles to choose from, and you don’t have to use the exact bike I used for my example. But I think I have delivered it in a way that makes it seem very easy.
I can say out of my experience, not everything will go according to plan, but sometimes when something goes wrong, it opens another door for something even better.
All you need to do now is figure out what a gentleman would wear and why they smoke tobacco through that tiny wooden hammer.
Final words
I always try to keep my articles interesting and informative. And I’m always thankful when they are shared on social media platforms or Pinterest.
Featured image by thesuitedracer on Instagram
