Overview
If you have only a small alley next to your house or a very long parking space that makes it a hassle to turn around your bike, you might consider building yourself one of these.
We have all seen the turntables at shows that make you wonder how they got the bike up there in the first place, although, it looks nice when the bike turns around in one place leaving you in a trans for the next 42 minutes.
But my turntable design is level with the floor and makes it easy for you to get the bike on it and effortlessly turn the bike around without having to go forward and back 68 times.
Function
I guess there are other uses for this turntable as well. You can build it into your garage so you can work efficiently on your bike or you even decide to build it into your house and use a nice marble top and a motor to give you that showroom effect.
I want to use it is to turn the bike around at the end of the alley because apparently pulling the motorcycle onto its side stand and swinging the bike around shortens the side stand’s life dramatically.
Design
This design is something I thought up while thinking of a way to move an electric bike and not pull out the cord but seems to have a wider range of applications.

I’ll outline the steps you need to build this platform with images, so you know exactly what to do or change for your own design.
Step 1

Measure the distance from the front wheel to the rear wheel on your bike. This will be the minimum diameter your platform needs to be, but you would want to make it a bit bigger so you don’t have to waste time trying to get the bike on the platform.
Step 2

Measure from the front end to the rear end of your motorcycle and compare it to the width of the alley where you want to build the turning platform. If it is too narrow, you might want to consider another place to build it.
Step 3
Once you have decided on the diameter of the platform, drill a hole into the floor at the centre of where the platform should be.
Step 4
Use a nail in the hole you drilled and fasten a string around it. Measure the string up to half the diameter of the platform and fasten the string to a pencil. Keep the string tight and draw a line around.
Step 5
Use a 4.5 inch (115mm) concrete cutting disk on a grinder to cut around the circumference of the circle. You are not going to cut all the way through; only about 2 to 3 inches (50 to 75mm) deep. You only need one new disk for this.
Step 6
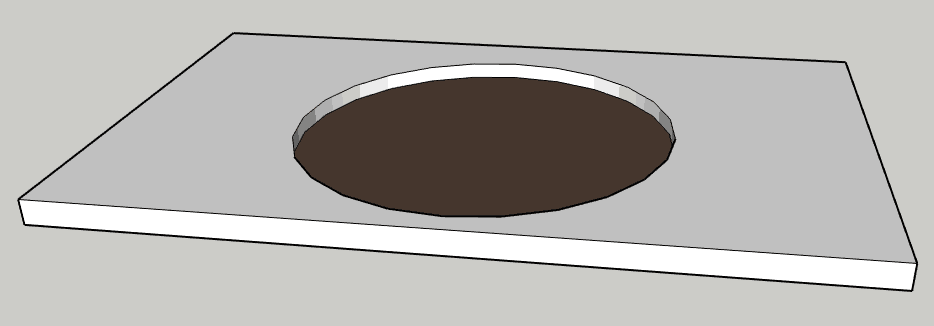
Start breaking out the concrete from the centre of the circle towards the line you cut. You can use a hammer and a sharp-pointed chisel, or you can use a hydraulic hammer if you have one.
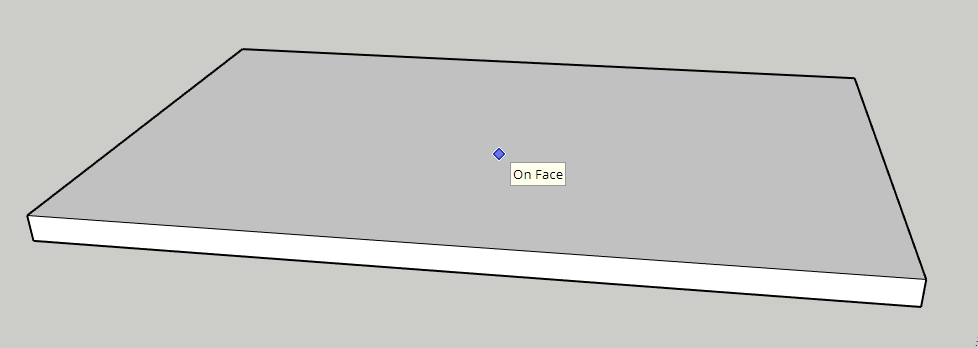
Step 7
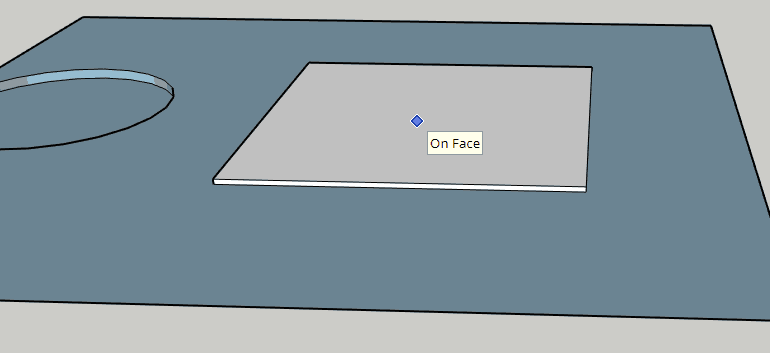
Use a B-grade 2-inch plywood sheet that can cover the hole you made. Determine the centre of the sheet and hammer a nail into it.
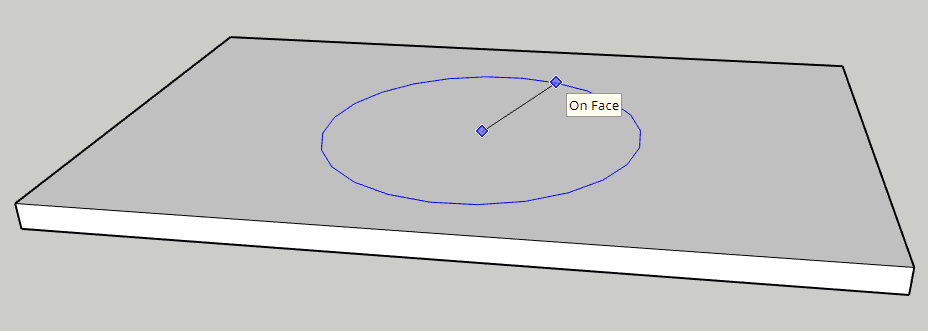
Step 8
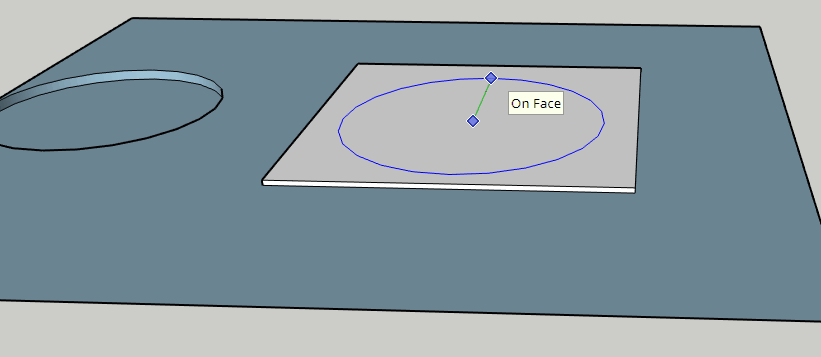
Do the same with the string and pencil that you used earlier but this time make the string 1/2 an inch shorter so the round board can fit in easily when you are done.
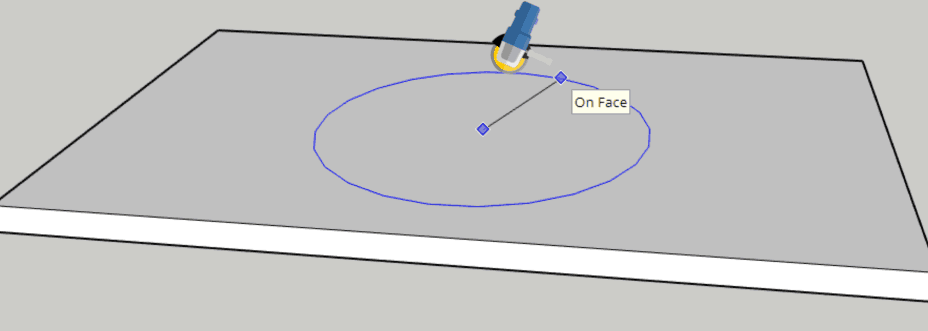
Step 9
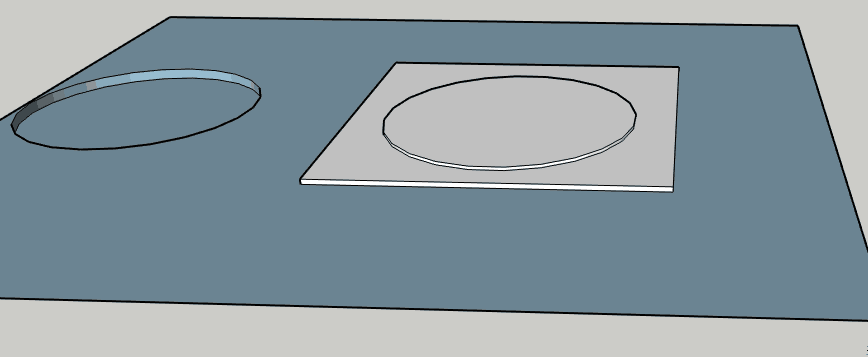
Use a jigsaw to cut around the circumference of the circle you made on the plywood sheet. You should remember to use the correct size blade and to use eye protection when using the jigsaw.
Step 10
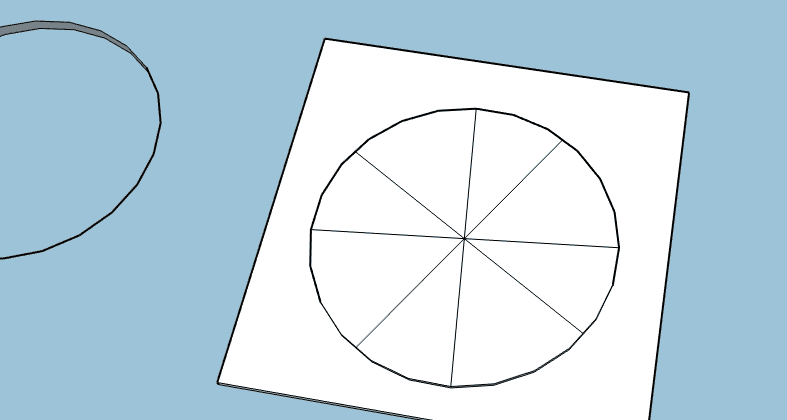
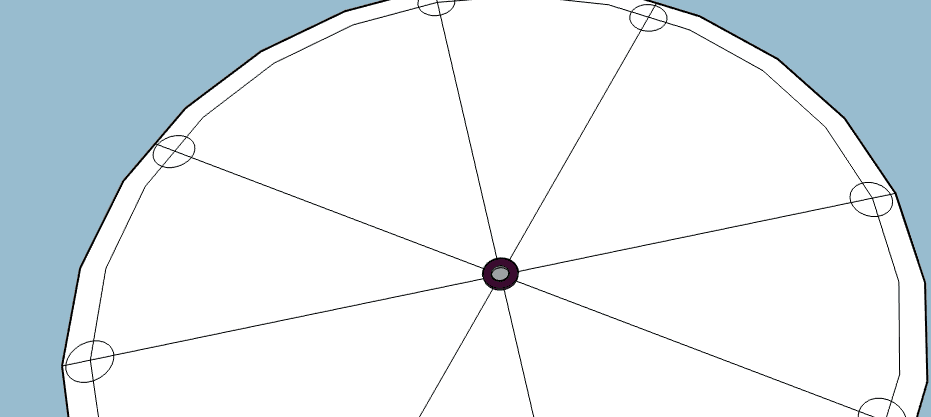
Divide the cut-out board into eight equal sections from the centre using a pencil. Do not cut the board along these lines.
Step 11
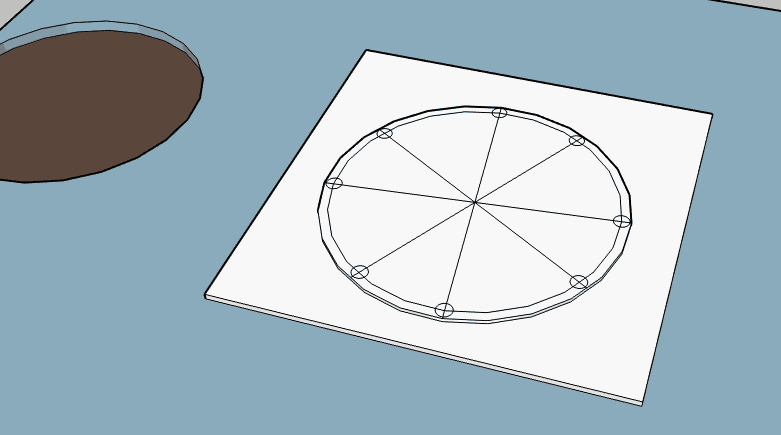
Attach swivel wheels almost at the end of each line you made. Do not attach them right at the end because the wheels need to turn around when the platform changes direction.
Step 12
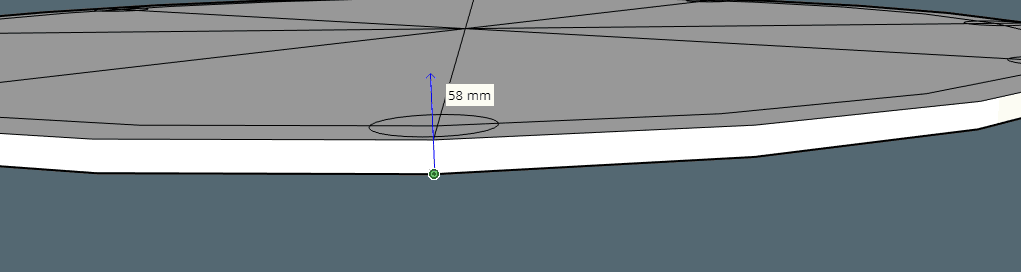
Measure from the bottom of the wheel to the top of the board. This is how deep your platform should be into the floor.
Step 13
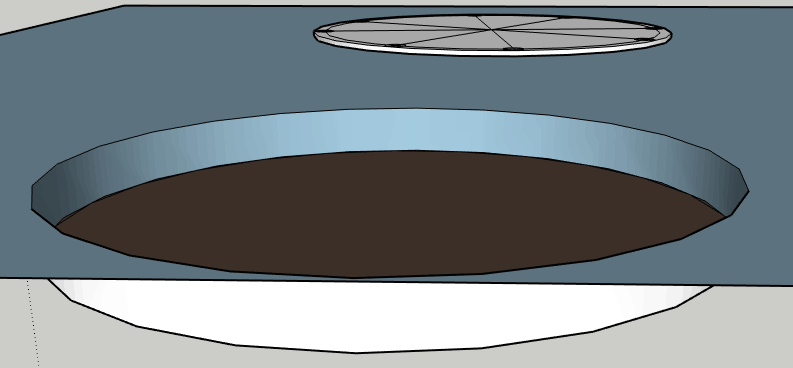
Dig out the soil underneath the area where the platform should be to the measurement you took in step 12 plus the thickness of the new floor at the bottom of the pit. This new floor can be around 5 inches (130mm) thick.
Step 14
Dig a small hole in the centre that is a bit deeper. It should be about 12 inches wide and 24 inches deep.
Step 15

Plant a 35mm pipe precisely in the centre of the large hole and must reach to the original floor’s level. This pipe must be upright and level to act as an axel for the platform.
Step 16

Once you are sure step 15 is done correctly, you can cast the concrete for the new floor. It might be better to cast around the pipe a day before so that it doesn’t move around when you do the floor. The floor must be precisely level and made smooth.
Step 17
The day after casting the floor, you should fill in the spaces between the new floor and original floor with either mortar and bricks or you can just use concrete.
Step 18
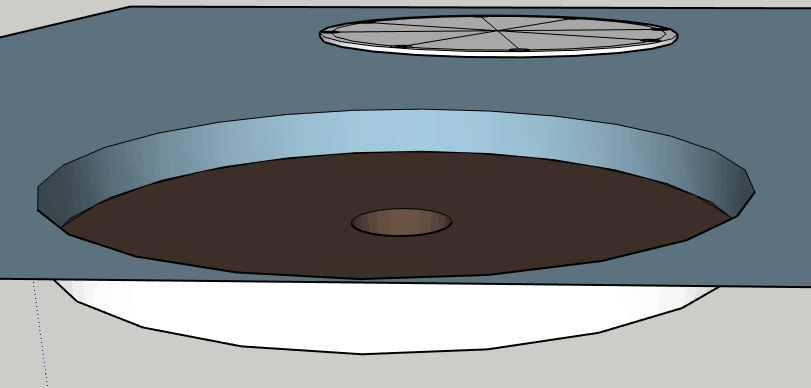
Attach a 35mm bearing mount to the bottom of the platform at the centre.
Step 19
Cut the pipe in the concrete to fit into the bearing without pressing on the board.
Step 20
Before placing the platform into the hole for use, you should keep the new floor moist for a few days so that the concrete can cure.
Final words
It might seem very simple, but you need to be extra careful when taking measurements for this little project as you could end up buying more material if you cut incorrectly anywhere in any of these steps. I hope this was helpful to you.
I always try to keep my articles interesting and informative. And I’m always thankful when they are shared on social media platforms or Pinterest.